Illuminate Your Shots: Top 5 Tips for Stunning Low Light Photography

Uncategorized

Hey there, photography enthusiasts! 🌟 Just so you know, this post contains affiliate links. Clicking on them won’t cost you a single extra penny, but it might help me earn a small commission to fund my next late-night photo adventure (and perhaps a cup of coffee or two!). Thanks for your support—you rock! 📸✨

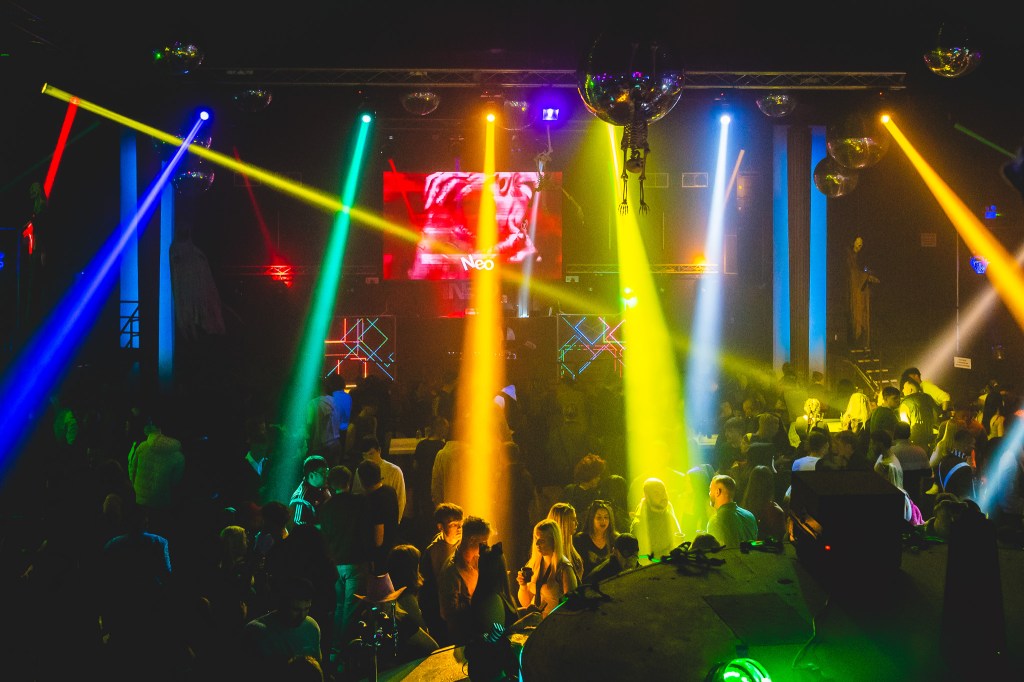
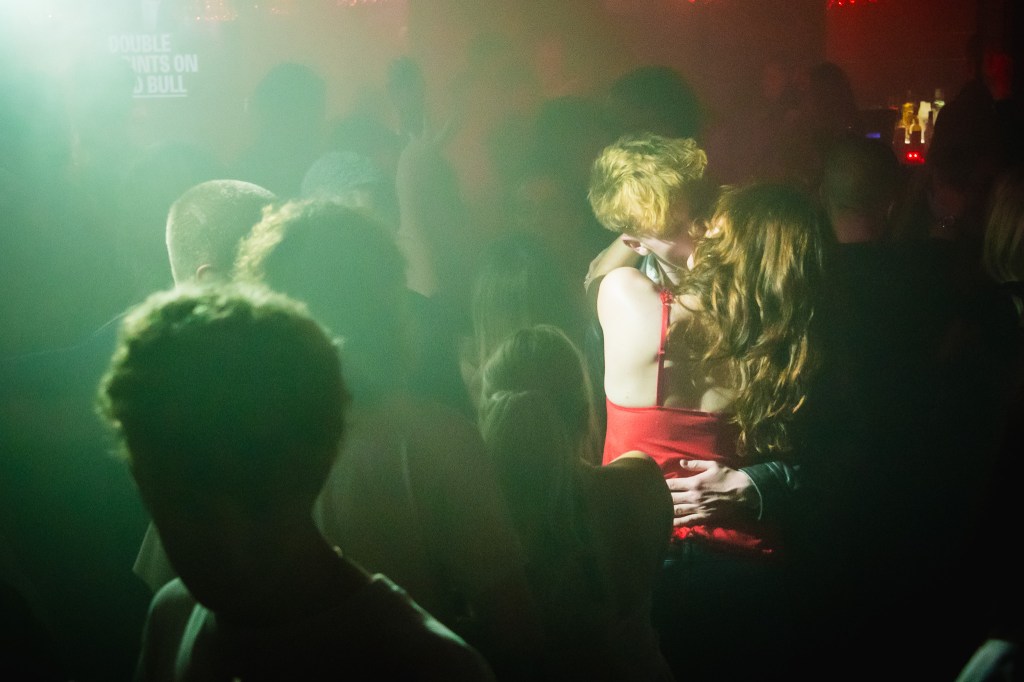
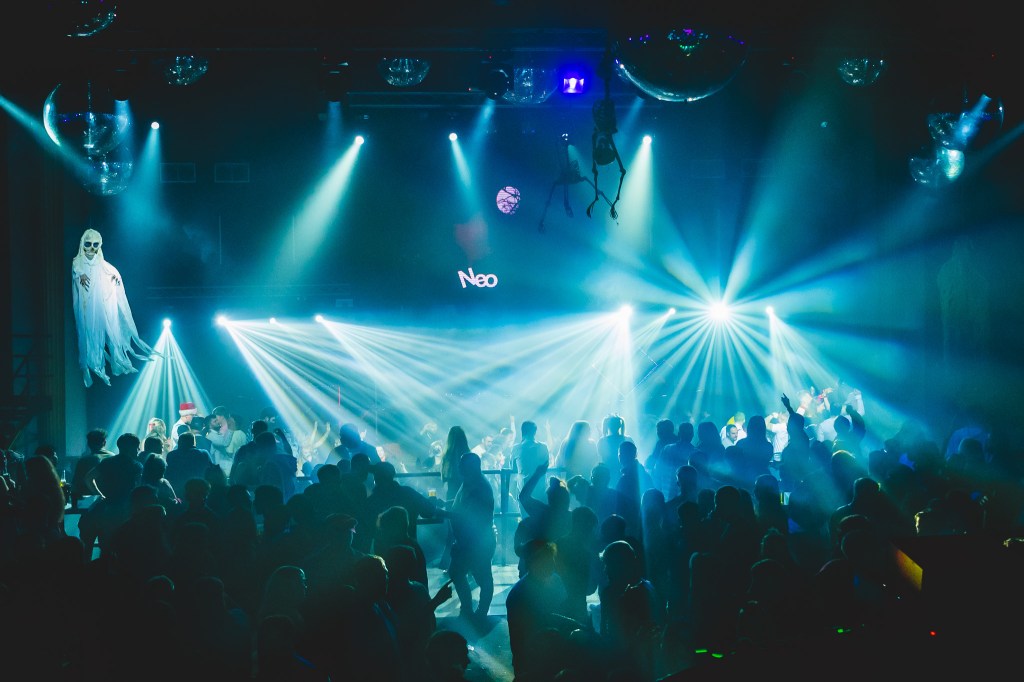
Ever tried snapping a photo at dusk or indoors without much lighting, only to end up with a dark, grainy image that does not do the moment justice? You are not alone! Low light photography can be tricky, but it is also a fantastic opportunity to get creative and capture stunning images you would not achieve in broad daylight. Whether it is a cozy candlelit dinner, a lively concert, or a serene night landscape, low light conditions can add a magical touch to your photos. 

But how do you make the most of these dimly lit scenes without ending up with a blurry mess? Grab your camera and let us dive into five expert tips that will help you shine bright in low light! 

I am always working with Nikon D750 (which is not produced anymore, check Nikon D780 instead) or with mirrorless Nikon Z7II and Nikon lenses, which I highly recommend but you do you and research the market before you make decision which brand you prefer.

1. Open with a Wider Aperture 

Imagine your camera’s aperture as the pupil of an eye—it controls how much light gets in. In low light situations, you will want to open that pupil wide to let in as much light as possible. 

MKS/D750

Why Aperture Matters 

More Light, Better Exposure: A wider aperture (which means a smaller f-number like f/1.8 or f/2.8) allows more light to hit your camera’s sensor. This is crucial when ambient light is scarce. 

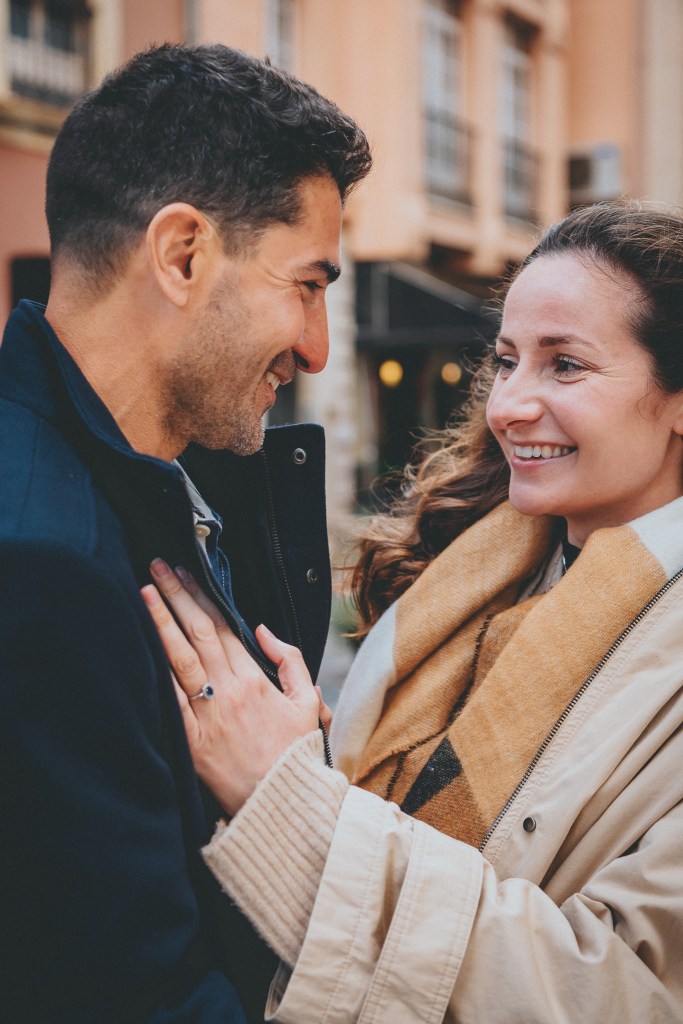
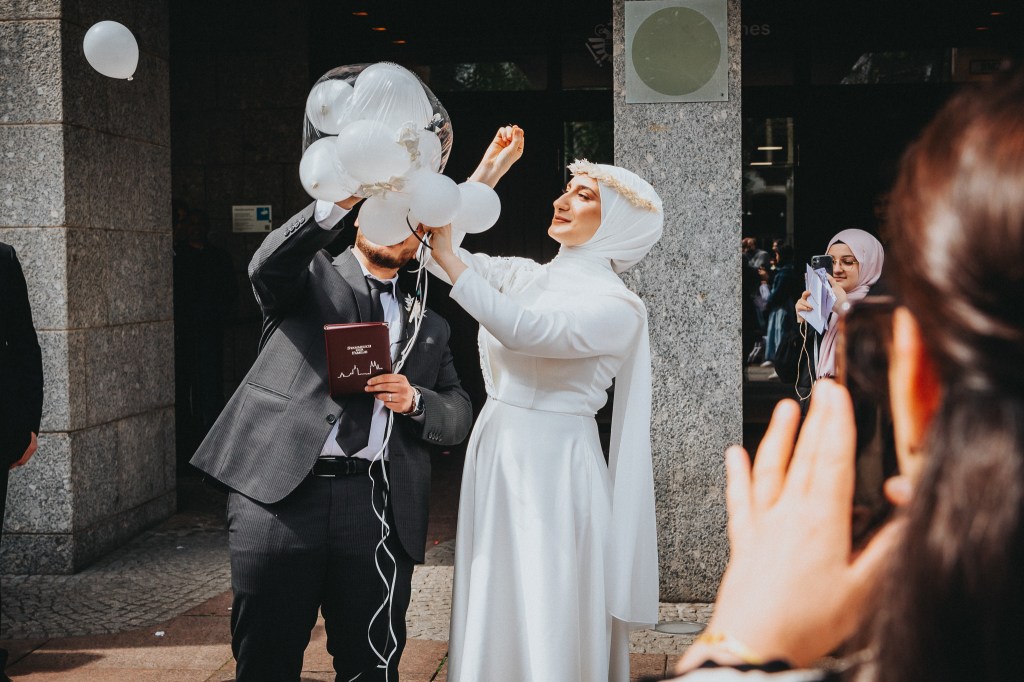
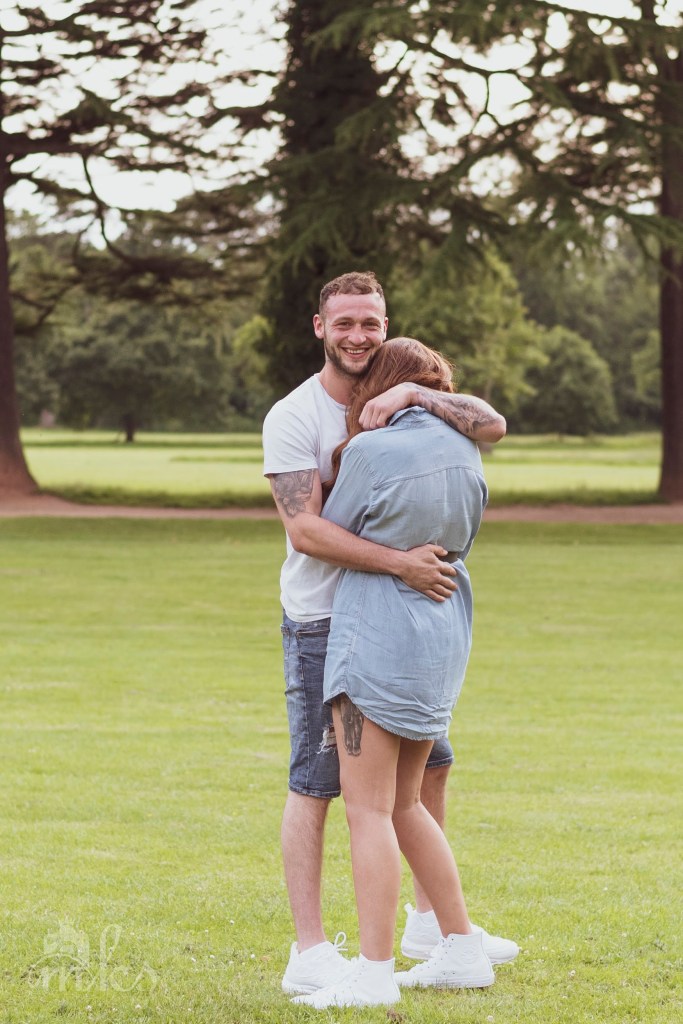
Shallow Depth of Field: A wide aperture creates a pleasing blur in the background, making your subject stand out. It is perfect for portraits where you want the focus on a person’s face while the background softly fades away. 

MKS/D750

Choosing the Right Lens 

Prime Lenses Are Your Friends: Prime lenses (those with a fixed focal length) often have larger maximum apertures than zoom lenses. For instance, a 50mm f/1.8 lens is affordable and excellent for low light. 

My Go-To Gear: Personally, I love using a Nikon FE 24-70mm f/2.8 and Nikon Z 70 – 200mm f/2.8 lenses. It gives me versatility in focal lengths while still offering a decent maximum aperture for low light situations. 

Fun Fact 

Did you know that the term “f-number” is a ratio? It is the focal length divided by the diameter of the aperture. So, a smaller f-number means a larger aperture! 

2. Increase the ISO (But Keep an Eye on Noise) 

ISO is like your camera’s sensitivity to light. Cranking it up helps you capture images in darker settings without a flash. But there is a catch—higher ISO can introduce noise, those annoying grainy specks that can ruin an otherwise great shot. 

MKS/D750

Balancing ISO and Image Quality 

Find Your Camera’s Sweet Spot: Modern cameras handle high ISO much better than older models. Test your camera to see how high you can push the ISO before the noise becomes unacceptable. 

Full-Frame Cameras Shine: Cameras like the Sony A9 II, Canon EOS 1DX Mark III, or Nikon Z9 perform exceptionally well at high ISO settings. They let you shoot at ISO 3200 or even higher with minimal noise. 

MKS/D750

Pro Tips 

Noise Reduction Software: Programs like Adobe Lightroom have noise reduction features that can help clean up your images in post-processing. 

Expose Correctly: Underexposed images amplified in post-processing show more noise than images correctly exposed at higher ISO. 

MKS/D750

Quick Anecdote 

I once shot a concert where the lighting was non-existent. By pushing my ISO to 6400 and carefully adjusting my other settings, I captured vibrant images that conveyed the energy of the performance without excessive noise. 

3. Slow Down Your Shutter Speed 

Shutter speed determines how long your camera’s sensor is exposed to light. Slower shutter speeds mean more light, but they also increase the risk of blur from camera shake or moving subjects. 

MKS/D750

Mastering Shutter Speed 

Understand the Basics: Shutter speeds are typically measured in fractions of a second (e.g., 1/60, 1/125). A slower shutter speed like 1/15 lets in more light than 1/125. 

Use a Tripod: To counteract camera shake, especially at slower shutter speeds, a tripod is invaluable. It keeps your camera steady, ensuring sharper images. 

Subject Movement: If your subject is stationary, slower shutter speeds work great. For moving subjects, you might need to find a balance to avoid motion blur. 

Get Creative with Blur 

Intentional Motion Blur: Sometimes, a bit of blur adds artistic flair. Think of light trails from cars at night or the soft flow of a waterfall. 

Use Image Stabilisation: Some cameras and lenses have built-in stabilisation (IBIS or OIS) that helps reduce blur from slight movements. 

DIY Stabilisation 

No tripod? No problem! Improvise by resting your camera on a steady surface like a wall, table, or even a backpack. I have balanced my camera on all sorts of objects in a pinch! 

4. Introduce Additional Light Sources 

All right, this might feel like bending the rules, but adding light can dramatically improve your low light photography. 

MKS/D750

Using Flash and External Lights 

On-Camera Flash: Built-in flashes can be harsh. Try diffusing the light by attaching a small piece of white paper or plastic over the flash. 

External Flash Units: These offer more control. You can bounce the flash off ceilings or walls to spread the light more evenly. I am using Nikon speed light SB-5000 and it is great.

Continuous Lighting: LED panels or even a smartphone flashlight can provide a constant light source. 

Making the Most of Available Light 

Seek Out Ambient Light: Street lamps, neon signs, candles, or even the glow from a laptop screen can add interesting lighting to your photos. 

Adjust Your Position: Sometimes, moving your subject closer to a light source or changing your angle can make a significant difference. 

Creative Lighting Hacks 

Reflectors: Use reflective surfaces like mirrors, white boards, or aluminium foil to bounce light onto your subject. 

DIY Solutions: In a dark restaurant without a flash? I have used menus, napkins, and even water glasses to reflect candlelight onto my subject. 

A Fun Experiment 

Once, I used a string of fairy lights as a makeshift light source during a nighttime portrait session. Not only did it illuminate the subject, but it also added a whimsical element to the photos! 

5. Shoot in RAW Format 

Shooting in RAW captures all the data from your camera’s sensor, giving you more flexibility to edit and adjust your images later. 

MKS/D750

Advantages of RAW 

Recover Details: You can pull back details from shadows and highlights that might be lost in a JPEG. 

Better Colour Correction: Adjust white balance and colour profiles without degrading image quality. 

Enhanced Editing: Fine-tune exposure, contrast, and sharpness with more precision. 

MKS/D750

Considerations When Shooting RAW 

Larger File Sizes: RAW files are significantly bigger than JPEGs. Ensure you have enough storage on your memory cards and hard drives. 

Need for Processing: RAW images require post-processing with software like Adobe Lightroom, Photoshop, or other RAW editors. 

lower Workflow: The extra step of processing RAW files means it takes longer to get to your final image. 

Why It is Worth It 

The ability to adjust your low light photos after the fact can be a game-changer. I have saved many images that seemed too dark or noisy by tweaking the RAW files in post-processing. 

FAQs 

What Should I Keep in Mind for Low Light Photography? 

MKS/D750

Be Patient and Experiment: Low light photography often requires trial and error. Do not be afraid to take multiple shots with different settings. 

Know the Exposure Triangle: Understanding how aperture, shutter speed, and ISO work together is crucial.

Watch for Noise and Blur: Balance your settings to minimise noise (from high ISO) and blur (from slow shutter speeds).  

Use Manual Mode: Automatic settings might not cut it in low light. Manual mode gives you full control over your camera. 

Check Your Histogram: This tool helps you understand the exposure of your image, ensuring you are capturing the full range of details. 

Which Equipment Do I Need for Low Light Photography? 

MKS/D750

Fast Lenses: Invest in lenses with wide apertures (like f/1.8 or f/2.8). 

Sturdy Tripod: A must-have for stabilising your camera during long exposures. 

External Flash or Lighting: Provides additional light when natural light is not enough.

Full-Frame Camera: There are cameras which have larger sensors that perform better in low light. Research before you make your choice. 

High-Capacity Memory Cards: Shooting in RAW and high-resolution formats requires more storage space. I am using SanDisk Extreme PRO and am very happy with them.

What is the Right ISO to Use? 

MKS/D750

It Depends on Your Camera and Situation: There’s no one-size-fits-all answer. For some cameras, ISO 1600 might be the limit; others can handle ISO 6400 or higher.

Aim for the Lowest Acceptable ISO: Increase ISO only as much as needed to achieve proper exposure without introducing excessive noise. 

Test and Learn: Spend time understanding how your specific camera model handles different ISO settings in various lighting conditions.

Use Noise Reduction Techniques: Both in-camera settings and post-processing software can help manage noise. 

Final Thoughts 

Low light photography does not have to be daunting. In fact, it opens a whole new world of creative possibilities. By understanding and manipulating your camera’s settings—aperture, shutter speed, and ISO—you can capture stunning images that evoke mood, drama, and atmosphere. 

Remember, photography is both a science and an art. While technical knowledge is essential, do not forget to let your creativity shine. Experiment with different techniques, play with shadows and light, and most importantly, have fun with it! 

So next time you find yourself in a dimly lit setting, do not shy away from pulling out your camera. Embrace the challenge, apply these tips, and watch your low light photography skills light up! 

Happy shooting! 

Understanding the Price Spectrum of Wedding Photography: From £500 to £10,000

#wedding, engagement, wedding day

When planning a wedding, one of the crucial decisions is choosing a photographer. The range in pricing can be vast, from as low as £500 to as high as £10,000 or more. So, what differentiates a £500 wedding photographer from a £10,000 one? It’s not just about the pictures captured during the event; it’s about the overall experience, expertise, and the value added before, during, and after the wedding.

1. Experience and Expertise: The most significant difference lies in the experience and expertise of the photographer. A £10,000 photographer typically brings a wealth of experience, with a deep understanding of wedding dynamics, lighting, composition, and the ability to capture candid moments and emotions. This level of expertise ensures a higher quality of work, often apparent in their portfolio. In contrast, a £500 photographer might be new to the industry or working part-time, which can reflect in the quality and consistency of their photos.

2. Pre and Post-Wedding Engagement: High-end photographers often provide comprehensive services that include pre-wedding consultations, engagement photo sessions, and detailed discussions about the wedding day. They might assist in planning the photography schedule, ensuring that all important moments are captured. Post-wedding, these photographers typically offer professional editing, creating albums and prints, and even providing a sneak peek of images shortly after the wedding. This level of engagement is less likely to be found with lower-priced options.

3. Equipment and Backup: Professional photographers invest heavily in high-quality equipment, including multiple cameras, lenses, lighting, and backups for everything. This investment is crucial to handle the unexpected and ensures the highest quality of images in various lighting conditions. A £500 photographer may not have access to such equipment or the backup necessary for a seamless experience.

4. Additional Services and Team: At the higher end of the spectrum, photographers often come with a team, including second shooters and assistants, ensuring comprehensive coverage of the event. They might offer additional services like drone photography, same-day edits, online galleries, luxury print albums, and professional videos. These additional services are generally beyond the scope of lower-priced photographers.

5. Reliability and Professionalism: With a higher price tag comes a higher level of professionalism and reliability. High-end photographers often have business insurance, contracts, and a registered business, ensuring a professional and secure service. Conversely, lower-priced photographers might lack these business essentials, which can be a risk.

6. Style and Artistry: Premium photographers often have a distinct style and artistic approach, offering images that are not just photographs but pieces of art. They have the skill to create unique, emotional, and storytelling images that stand out. Lower-priced photographers might offer more standard, cookie-cutter style images.

7. The Risk Factor: When considering a lower-priced photographer for your wedding, it’s important to be aware of the potential risks involved. While not all budget photographers will lead to a negative experience, the probability of encountering issues is significantly higher in the lower price bracket.

* Reliability Concerns: One of the most common risks with lower-priced photographers is reliability. There have been numerous instances where photographers have failed to show up on the wedding day or disappeared post-wedding without delivering the photos. This lack of professionalism can turn what is supposed to be a joyous occasion into a stressful and disappointing experience.

* Quality of Work: Often, the low cost reflects a lack of experience or professional training. This inexperience can result in missed crucial moments like the first kiss, the exchange of vows, or candid moments between loved ones. Additionally, they might struggle with challenging lighting conditions or crowded settings, leading to poor-quality images.

* Limited Resources and Backup Plans: Lower-priced photographers might not have access to high-quality equipment or backup gear, which is essential for handling unexpected situations like equipment failure. They might also lack the necessary assistants or second shooters, which can limit the coverage of your wedding, especially in larger or more complex venues.

* Post-Processing and Editing: The editing process is where a photo transforms from a simple snapshot to a work of art. Budget photographers may lack the skills or resources for professional editing, which can significantly impact the final quality of the photos. This can lead to images that are bland, improperly exposed, or fail to capture the true ambiance of your wedding.

* Legal and Business Considerations: Lower-priced photographers might not operate as registered businesses, lacking the necessary insurance or contracts to protect both parties. This can be a significant risk if disputes or issues arise post-wedding.

* No Accountability or Reputation to Uphold: Unlike high-end professionals who have a reputation to maintain, lower-priced photographers might not have a significant online presence or a portfolio of work that can be scrutinized. This lack of accountability means they might not be as committed to delivering high-quality work or adhering to professional standards.

* Investing in Peace of Mind: By contrast, investing in a high-end photographer offers peace of mind. These professionals are committed to their craft and reputation. They come equipped with high-quality gear, backup equipment, and a team if necessary. They have the experience to navigate the unforeseen challenges of a wedding day, ensuring that all crucial moments are beautifully captured.

8. Personal Connection: Choosing a photographer for your wedding is a deeply personal decision. The personal connection between the couple and the photographer is pivotal, particularly when considering high-end photographers. This connection transcends mere business transaction and becomes a collaborative journey.

* Understanding Your Story: A skilled, higher-priced photographer invests time in understanding your story – how you met, your journey together, and what your wedding signifies for you. This understanding allows them to capture images that are not just visually stunning but also emotionally resonant and deeply personal.

* Building Trust: Such photographers often prioritize building trust and rapport. They are likely to meet with you multiple times, be available for discussions, and show genuine interest in your ideas and concerns. This level of engagement builds a comfort level that can be incredibly beneficial on the wedding day, allowing for more natural and relaxed photography.

* Tailoring the Experience: Every couple is unique, and a photographer who understands this will tailor their approach accordingly. They might offer personalized suggestions for locations, themes, or styles based on what they learn about you. This customization can lead to a more satisfying and bespoke photographic experience.

* Emotional Intelligence: High-end photographers often possess a strong sense of emotional intelligence. They can read the room, understand dynamics among family members and guests, and anticipate moments before they happen. This skill is crucial in capturing those fleeting, candid moments that define the spirit of your wedding.

* Beyond the Wedding Day: The connection often extends beyond the wedding day. These photographers might stay in touch, offering services for future life events like anniversaries, maternity shoots, or family portraits. Such ongoing relationships can lead to a more profound understanding and capture of your evolving story over time.

9. Market Variations: It’s important to note that these price ranges can vary significantly based on geographic location and market demand. In some regions, £500 might fetch a relatively experienced photographer, whereas, in others, it wouldn’t cover the basics.

10. Conclusion: In essence, when choosing a wedding photographer, it’s crucial to consider what’s included in the package, but also the experience, reliability, and artistry they bring to your special day. A £10,000 photographer should offer not just a service, but an experience – from the initial consultation to the final delivery of stunning, high-quality images and albums. Conversely, a £500 photographer might suit couples with a tight budget or those willing to take a risk on someone potentially less experienced. Ultimately, the choice reflects a balance between budget constraints and the value placed on capturing those once-in-a-lifetime memories.

Surprise Engagement Photoshoot, Yes or No?

#wedding, engagement, wedding day
Lala & Claudio, Cologne Germany 06/05/2023

I love engagements, and just in a last two weeks I was honoured to be a part of two ‘surprise engagement photo sessions’.

This was such a great experience to see how the face of the future bride was changing and lighting up, and how the emotions were playing the main role during this process.

Should you have a photographer for a surprise engagement?

Anna & Jon, Smoke and Mirrors, Bristol 13/05/2023

Yes, you should! The memories will last forever no matter what. Many people still do not think is necessary to capture these moments, but I believe that exactly those moments, moments which are changing our whole life are worth to be freeze in time, for us to look back in a few years into the future and remind ourselves how happy and hopeful we felt.

How can you surprise your engagement?

Rhi & Gareth, Tredegar House, Newport 22/06/2019
  1. Make a list of your partner’s favourite things. 
  2. Ask your friends and family for help with the organisation.
  3. The right location is an important factor. Choose wisely. You both must feel comfortable in this moment.
  4. To avoid any hiccups, make sure you plan everything long in advance, this is one of the most important moments in your life.
  5. When it comes to marriage proposals, timing is everything. You want the moment to be perfect, and hiring an engagement photographer to capture the moment is a great way to ensure that. It can be a great test to see if this photographer would be the right choice to shoot your entire wedding day, use this opportunity.
  6. Two is better than one, even photographers, we can share the attention to you both and everyone of us can concentrate our lens on one of you. Perfect solution.
  7. Do not be afraid to look ‘ugly’. When the emotions will overwhelm you, do not be afraid to cry, the real feelings are making photos great.
  8. Do not overcomplicate things, you both are the main characters in this engagement surprise, and you both should enjoy it. Keep it simple.
  9. A little bit of food and drink is a nice touch. You can plan a picnic in the park or simply book a table in your favourite restaurant to celebrate your engagement.

What should you avoid when organise an engagement photo session?

  • Matching Outfits
  • Loud Patterns
  • Brand Logos
  • Trendy Pieces
  • Anything out of Character
  • Pyjamas or Athleisure
  • Ill-Fitting Clothing
  • Too Many Outfits

But only when you want the session to be like everyone else. I personally would go for the crazy outfit, what is wrong with pyjama, if this is who you are bring it on! Do something different for you both to remember this day, this exact moment, something you are going to tell your kids about, your grandkids, something which whenever you will think about will make you smile and bring this worm feeling back in a second. Do not avoid anything. Make sure you both are comfortable; you are the stars in this engagement moment.

How will I take your surprise engagement photos?

  1. A day before the engagement photoshoot I would go around the place and plan everything from a to z.
  2. I would expect you to meet with me then I could suggest you all the details should happen; like which side to face into, where to kneel. We must work together. I will ask you to give your future wife/husband a kiss on a forehead right before you bend on your knee to send me a signal the big moment is going to happen NOW!
  3. I will be using a telephoto lens to be able to be as far as possible not to intrude in the moment but still ‘tell’ a complete story’.
  4. The ‘Yes’ is only the beginning. I will stay shooting and most probably will reveal myself to take pictures from different angles.
  5. When the emotion goes down, I will introduce myself to your future wife / husband and we will do a mini engagement session on the spot.

Are you ready to propose yet? Let’s plan it together. Get in touch!